Hey it’s me – JKT, back after a really long hiatus from my blog and building mishaps. This post goes out to all those who bleed during a simple project!

That’s right! Four tools used in this simple project and I bled opening the plastic packaging from the screws.
Seems weird to open with a shot of my injury, but if you’ve ever read my posts you know this is all part of the creative madness that oozes out of my house. Here: photo of finished project.

My mom had a damaged cupboard door from a small bathroom remodel and wanted to use it as a tray. All I had to do was drill holes and attach the drawer handles. This DIY tabletop tray is totes adorbs!
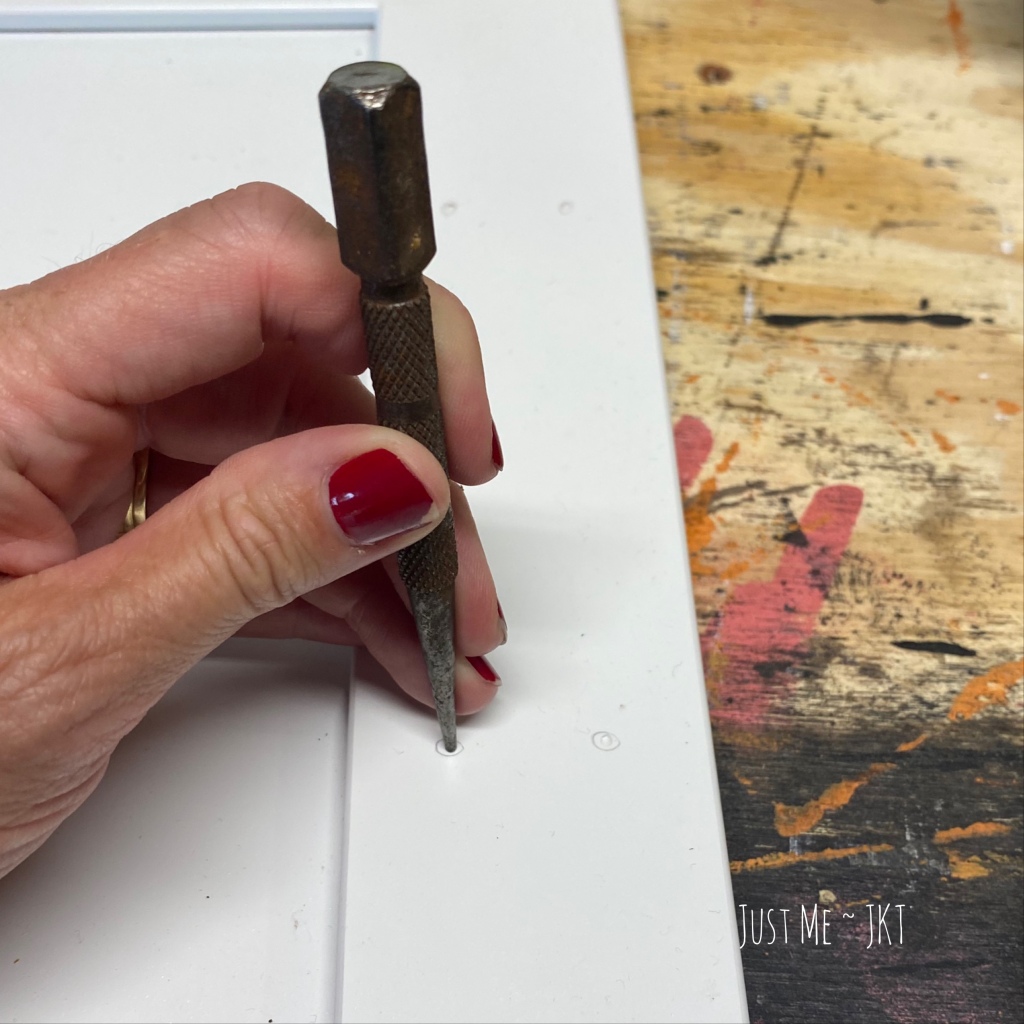
Step one: Mark off holes with a pencil. I used a punch and hammer to make a guiding dent for the drill bit so it would stay in place. I learned this method after drilling all the way through the door and into my workbench. See? This blog is still a don’t do what I did blog!
Step two: draw blood opening handle packaging.
Step three: attach handles to the door.

Project complete! Once the blood dried I used whatever I had on hand to make this easy, casual outdoor table centerpiece using a cupboard door and two handles.


Someday I assume Mom will serve drinks and appetizers on her new serving tray…if I choose to give it back to her. It looks great on my outdoor table.

You must be logged in to post a comment.